Tuesday, June 12, 2012

Lovely Lace Pattern Stitch


I saw a beautiful cardigan on a lady at church on Sunday and thought, I need to try to make a stitch that is similar to that! The fabric of her cardigan was crocheted pentagons which was beautiful and definitely doable, but this is the first pattern that came to me, and I think it's really pretty and worth sharing!

I worked my swatch in Sinfonia thread with a size F hook, but it will work up beautifully in whatever thread you love...so as I always say, use what you love to make something you love for someone you love and love every stitch!


So Here Goes:

Chain multiple of 4 +1

Row 1: hdc in 3rd ch from hook, hdc across

Row 2: ch 2, turn, hdc, ch 4, sk 3, (2 hdc in next stitch, ch 4, sk 3) across, hdc in last 2 stitches

Row 3: ch 1 turn, sc, (ch 2, sc in ch 4 space, ch 2, sk hdc, sc in hdc) across

Row 4: ch 5, turn, sk sc, 2 hdc in sc, (ch 4, sk sc, 2 hdc in sc) across, ch 2, tc in last sc

Row 5: ch1, turn, sc1, ch2, sc in hdc, (ch 2, sc in ch 4 space, ch 2, sk hdc, sc in hdc) across

Row 6: ch 2, turn, hdc in sc, (ch 4, sk sc, 2 hdc in sc) across

Repeat rows 3-6 for pattern, ending with row 5

2nd to last row: ch 2, turn, hdc in sc, (ch 3, sk sc, 2 hdc in sc) across

Last row: ch 2, turn, (hdc in each st, 3 hdc in each ch 3 space) across


When working something that will have a border, you may opt not to do the foundation row of hdc or the finishing row of hdc. On the swatch that I made while creating this pattern I found that it helped to keep everything aligned better.

An extra special thank you goes out to my dear friend Sarah for taking my convoluted gibberish and simplifying it into a much easier pattern!

As always, I can't wait to hear from you! Comment or message me if you have questions.

Happy Hooking,
Mama Nettie

Monday, April 23, 2012

Abrupt Increase


Let's talk about Abrupt Increases - AbInc. I'm not sure if this is the correct term for this technique or if anyone on earth uses it, other than myself, but it really makes my life easier and I think it's worth sharing.


Most of the time in crochet increases and decreases are done gradually. You add a stitch periodically to increase and connect 2 stitches, essentially losing one stitch periodically in order to decrease, but there are those times when you need to increase or decrease dramatically and instantly. There are cases where gradual just doesn't cut it. This technique is for those moments.


 I'm using HDC's on this piece. Notice in the picture above. YO, go into the last stitch of the previous row, pull up a loop. 3 loops on hook. Now notice in the picture below....


YO and pull through 1. (This creates the appearance that you had a chain there to begin with...DON'T FREAK OUT IF YOU DON'T SEE IT IMMEDIATELY...it takes a few stitches for it to be obvious) Then pull through all three to complete your HDC. YO, go into the chain that you just created, pull up a lp, pull through 1, pull through 3 to complete your HDC. (this can be done with SC, or DC or any stitch variation that doesn't require skipping stitches...and some that do.) See the completed stitch in the photo below.


Continue adding stitches until you've increased as much as is needed for your pattern. Then continue as if it were just a normal row. Ch and turn and continue.
Sample of several AbInc in a row. 


Decreasing is easy, you just slip stitch back down your row until you are at the place where you want to begin stitching again. Then chain the height of the stitch of your choice (HDC in this case) and carry on.
Example of AbInc row and AbDec row.


This technique is great for making button holes without having to chain or leave extra large gaps. It's great for making sleeve openings for cardigans, sweaters and vests. The possibilities are endless! If you try it out let me know! As always, if you have problem, message me, I'm here to help! 


Here's a link to a fun project using the AbInc! Let me know what you think!

Happy Hooking!
Mama Nettie


Thursday, April 19, 2012

Crossed TC's

There are a variety of crossed stitches that you can master and enjoy and they each create a unique texture and pattern that is very beautiful.  I have been using the Crossed Treble Crochet in a lot of projects lately and thought it would be fun to teach it to you all.  From here forward I will abbreviate it XTC just to simplify.

XTC's tend to increase the width of the fabric a bit so I prefer to use them in trims or on pieces that I am intentionally increasing. You can alter the pattern to make them not increase the width, but in my opinion, they also don't stand out or have as dramatic of an effect as they do otherwise.

XTC = TC in 3rd st from hk, ch 2, TC in 1st skipped st.

To begin, chain the length that you want the project to be (# should be divisible by 3). at this point I like to do a base row. In the pictures you'll see that I did a base row of HDC's.  The first photo picks up after that row. Chain 2,

TC in the 3rd HDC from hook, ch 2, 

Chain 2, then holding the first TC out of your way, TC in the second st BACK from the hook. 
(See the picture above, the hook is pointing to the correct place to put the stitch)

It's a little difficult to see, but this is how I hold the first stitch out of the way while doing the second stitch. 


Here's the effect that you get! Isn't it gorgeous!? 
Notice that you don't put 2 stitches into the same hole at any time in this pattern.

Here are some fun instructions for how to do this stitch when working on something like a skirt or sleeve. Again, remember that it will increase in size on the outer edge, so use it with that in mind.
Chain the length that you'd like, and join. Chain 2, HDC around and sl st to join. 

When working on something round, you chain 5 to begin your round. This chain serves as the first TC and chain 2.

In this photo the hook is pointing at the stitch that you'll go into to make your second TC.
Can you see the chain (first TC and ch2) held behind the hook out of the way while I'm doing the second TC?


Continue XTC's around and watch the texture in this pattern! 

When you come to the end, sl st to join into the 3rd ch of the beginning chain. 

And there you have it!

As always, if you need any help getting it down, send me a note!
Happy Hooking! 
Mama Nettie

Tuesday, August 10, 2010

A Fun Twist


Try using a different yarn to wrap your single crochet!!! Just tie on at the beginning of the row and sc with your main color, and wrap with your accent color!!! Super Cute!
Imagine if you had chocolate brown with pink or blue accents!!!
Happy Hooking!
Mama Nettie

Thursday, August 5, 2010

So...a few days ago, I was

thinking about what I was going to do for this week and I had a wild idea. I thought...what if I took a single crochet and wrapped my yarn around the loop??? Wonder what that would look like... Well, it's awesome. I'm sure that I'm not the first to ever have that idea, but it's not one that I'd heard before. It's really pretty! Would make a great dish cloth pattern or a great accent for an afghan...etc...etc.. To get started, chain an odd number (very important), sc 1 row to begin.( You wouldn't have to do that...but I think that it makes working this stitch a whole lot easier.) Ch 1, turn, sc in first sc, wrap your yarn around the loop from the SC 3 times. See picture below. Skip next sc, sc in next sc, *wrap yarn (3X) around lp from sc, skip next sc, sc in next sc. * Repeat from * across.

Below is a picture of this stitch used as an accent.
To use as an accent row:
Chain an odd #
Row 1: SC in each ch across, ch 1, turn
Row 2: SC in first SC, *wrap yarn (3x)around lp from sc, skip next sc, sc in next sc.* Repeat from * across, ch1, turn
Row 3: SC in first SC, *ch 1, skip the wrapped part, sc in next sc.* repeat from * across, ch1, turn
Row 4: SC in each stitch across.
Below is a picture of this stitch used as the majority of the project. It will begin the same way...
Chain an odd #
Row 1: SC in each ch across, ch 1, turn
Row 2: SC in first SC, *wrap yarn (3x) around lp from sc, skip next sc, sc in next sc.* Repeat from * across, ch 1, turn
Row 3: SC in first SC, * wrap yarn (3x) around lp from sc, skip wrap from previous row, sc in next sc.* repeat from * across, Ch 1, turn
Row 4 and following: repeat row 3 over and over until you are drawing to a close.
To finish:
1.) *ch 1, skip the wrapped part, sc in next sc, ch 1, skip the wrapped part, sc in next sc* Repeat from * across, ch 1, turn
2.) SC in each stitch across. Tie off and cut.
Happy Hooking!
Love,

Looking for another fun way to use the wrapped single crochet? Click here!

Thursday, July 29, 2010

Single Double

Here is a very extra simple pattern that I'd like to share. I have a close friend (Sarah) whom I taught to crochet a few months ago and she found this pattern and shared it with me. I didn't use the flash in these pictures because I wanted you to be able to see the bumpy texture of the pattern. I am just keeping it extra simple this week because my kiddos have been sick. Ok, chain to start as usual. Sc in 4th ch from hook. DC in nex ch, *1 sc, 1 dc, 1 sc, 1 dc* all the way across. When you reach the end of your chain, if you end with a dc: ch1, turn, sc in 1st dc, and basically repeat row 1 across. If you end with a sc: ch 3, skip 1st sc and sc in 1st dc, and repeat row 1 across.
Here is a quick headband idea. All it is, is one row of dc, sc, dc, sc! Isn't it pretty??! Simple Simple Simple, but so cute too!
Happy Hooking!
Love,
Mama Nettie

Monday, July 19, 2010

Mama Mia's Star Stitch

One of my all time favorite stitches is the one that my mom always called the Star Stitch! So we'll call it "Mama Mia's Star Stitch"!
Isn't it gorgeous??! I think it's lacey and beautiful and still tight enough to be really cozy and warm! So...here's how you get started. Chain the length that you want the project to be...it needs to be an odd # of stitches. (make your chain a little looser than usual, because this stitch will stretch it to its limit. If you find that your edges do not stay straight, you may want to go back and make your chain with a hook that is 1 or 2 sizes bigger than the one that you do your stitches with.) Ok...here we go! When you get your chain made, ch 3 more for first DC, turn, begin DC in 4th ch from hook. See picture...
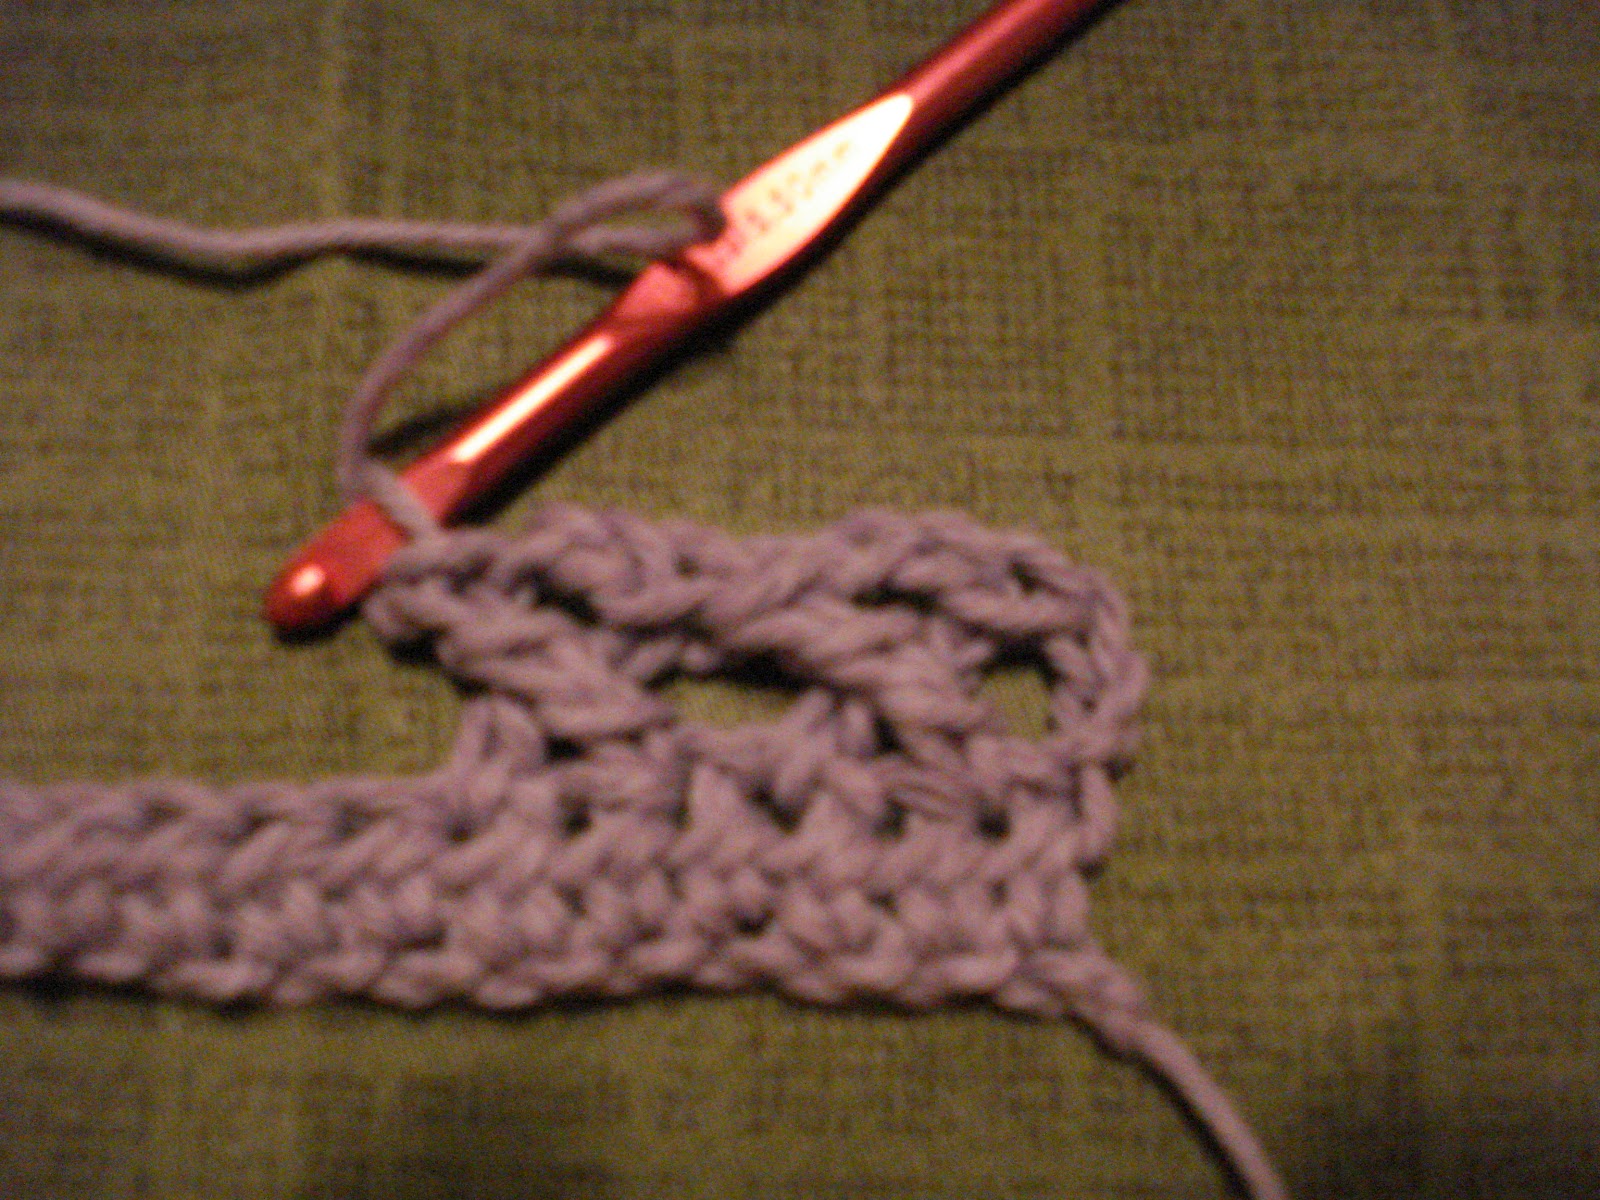
You are not going to finish this DC. Just yo, pull it through chain, yo, and pull through 2 lps leaving 2 lps on your hook. See picture...*YO, Begin DC in second ch from hk...see picture below. Notice that there are 3 lps on hook, On this DC you will pull thru 2, then pull thru 3(this connects this star to the previous star) DC in same stitch, begin dc in same stitch, pull thru 2 and leave 2 lps on hook...* repeat from * across.
When you get to the end, there will be 2 stitches left that you could go in. Continue with pattern by skipping 1 and start DC in last st.[pull thru 2, pull thru 3, same as above]. Finish by doing 1 full DC in same stitch. Chain 3 to turn and repeat row 1, over and over until you reach your desired length.
Please fee free to comment if you get lost in here or find this a bit confusing. I'll be checking often and am glad to help!

Happy Hooking!

Mama Nettie